

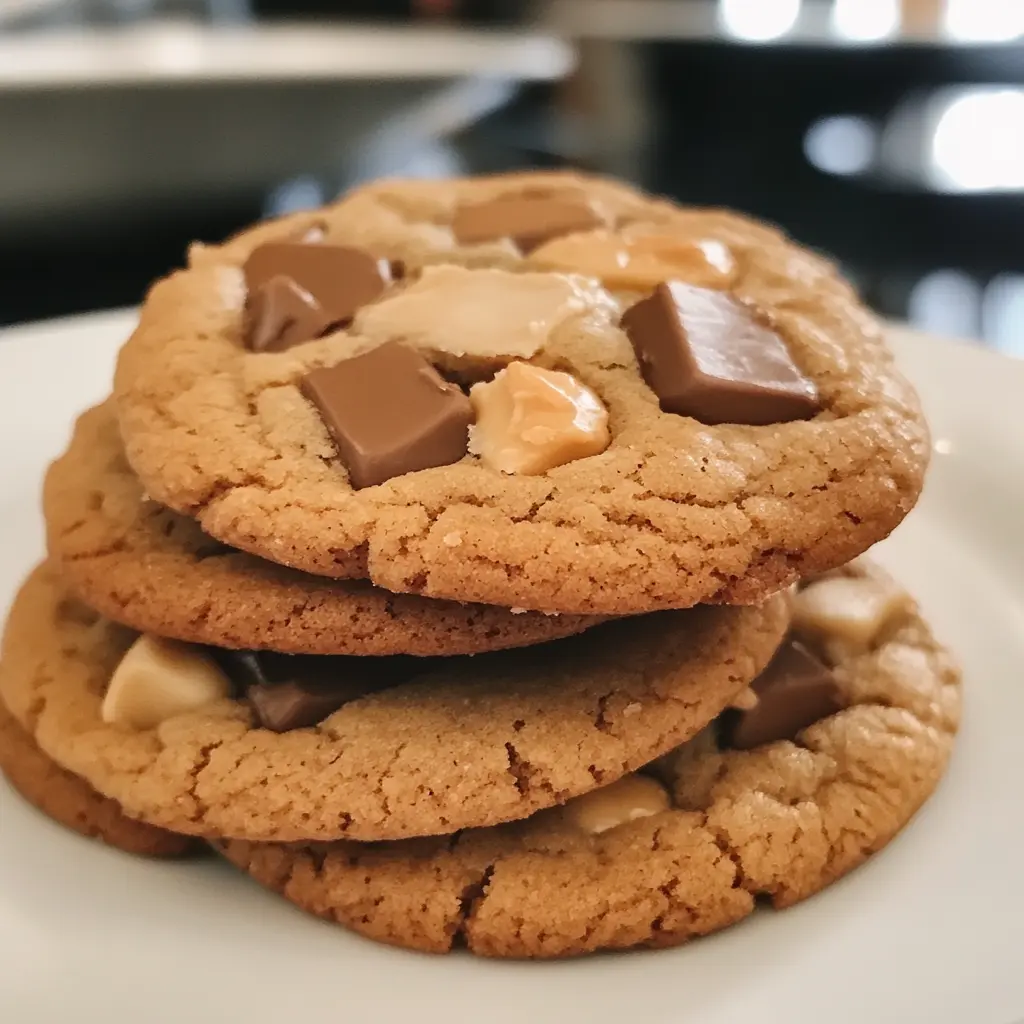
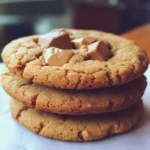
Few things in life bring back warm, nostalgic memories like the sweet aroma of Peanut Butter Cookies baking in the oven. As a kid, I would sneak into the kitchen, fingers crossed, hoping to grab one fresh off the tray before they cooled. My grandmother always made hers with a signature crosshatch pattern on top—and that’s the version I’m sharing with you today.
This classic American cookie is loved for its soft, chewy center, crisp edges, and deep peanut flavor. Whether you’re baking a batch for lunchboxes, holiday trays, or just because you’re craving something comforting, this recipe is foolproof, delicious, and oh-so-satisfying.
Table of Contents
Ingredients
- 1 cup peanut butter (creamy or chunky)
- ½ cup unsalted butter, softened
- ½ cup granulated sugar
- ½ cup brown sugar, packed
- 1 large egg
- 1 tsp vanilla extract
- 1 ¼ cups all-purpose flour
- ½ tsp baking powder
- ½ tsp baking soda
- ¼ tsp salt
Instructions
Step 1: Preheat the Oven
Preheat your oven to 350°F (175°C) and line a baking sheet with parchment paper.
Step 2: Mix the Wet Ingredients
In a large bowl, beat together the peanut butter, softened butter, granulated sugar, and brown sugar until light and fluffy (about 2-3 minutes). Add the egg and vanilla excerpt and blend until well combined.
Step 3: Combine Dry Ingredients
In a separate coliseum, whisk together the flour, incinerating greasepaint, incinerating soda pop, and swab. Gradually add this to the wet ingredients, mixing just until a dough forms. Be careful not to overmix.
Step 4: Scoop and Shape
Using a cookie scoop or tablespoon, portion out the dough and roll each piece into a ball. Place them 2 elevation piecemeal on the set baking distance. Flatten each ball gently with a chopstick in a cross pattern.
Step 5: Bake
Bake for 10-12 minutes, or until the edges are golden and the centers look set. The eyefuls will continue to firm up as they cool.
Step 6: Cool and Enjoy
Let the eyefuls cool on the baking distance for 5 twinkles before transferring them to a line rack to cool fully. Enjoy warm or store in an airtight container for up to 5 days.

Tips & Variations
✔ Extra Nutty? Use crunchy peanut butter or add chopped roasted peanuts to the dough.
✔ Chocolate Twist: Add chocolate chips or dip half the cookie in melted dark chocolate.
✔ Vegan Version: Replace the egg with a flax egg and use vegan butter.
✔ Gluten-Free: Substitute with a 1:1 gluten-free flour blend.
✔ Mini Cookies: Make bite-sized versions for parties or gifting.
Serving Suggestions
🍪 Pair with a cold glass of milk for a nostalgic treat.
☕ Serve with coffee or tea for an afternoon pick-me-up.
🍨 Crumble over vanilla ice cream for a fun dessert twist.
🎁 Wrap in a box with a ribbon for a homemade gift.
Peanut Butter Cookies
- Prep Time: 15
- Cook Time: 15
- Total Time: 30 minutes
- Yield: 24 cookies
- Category: Dessert
- Method: Baking
- Cuisine: American
Description
These Peanut Butter Cookies are soft, chewy, and packed with nutty flavor. A classic American favorite that’s quick and easy to make!
Ingredients
- 1 cup peanut butter (creamy or chunky)
- ½ cup unsalted butter, softened
- ½ cup granulated sugar
- ½ cup brown sugar, packed
- 1 large egg
- 1 tsp vanilla extract
- 1 ¼ cups all-purpose flour
- ½ tsp baking powder
- ½ tsp baking soda
- ¼ tsp salt
Instructions
Step 1: Preheat the Oven
- Preheat your oven to 350°F (175°C) and line a baking sheet with parchment paper.
Step 2: Mix the Wet Ingredients
- In a large bowl, beat together the peanut butter, softened butter, granulated sugar, and brown sugar until light and fluffy (about 2-3 minutes). Add the egg and vanilla excerpt and blend until well combined.
Step 3: Combine Dry Ingredients
- In a separate coliseum, whisk together the flour, incinerating greasepaint, incinerating soda pop, and swab. Gradually add this to the wet ingredients, mixing just until a dough forms. Be careful not to overmix.
Step 4: Scoop and Shape
- Using a cookie scoop or tablespoon, portion out the dough and roll each piece into a ball. Place them 2 elevation piecemeal on the set baking distance. Flatten each ball gently with a chopstick in a cross pattern.
Step 5: Bake
- Bake for 10-12 minutes, or until the edges are golden and the centers look set. The eyefuls will continue to firm up as they cool.
Step 6: Cool and Enjoy
- Let the eyefuls cool on the baking distance for 5 twinkles before transferring them to a line rack to cool fully. Enjoy warm or store in an airtight container for up to 5 days.
Notes
- ✔ Extra Nutty? Use crunchy peanut butter or add chopped roasted peanuts to the dough.
- ✔ Chocolate Twist: Add chocolate chips or dip half the cookie in melted dark chocolate.
- ✔ Vegan Version: Replace the egg with a flax egg and use vegan butter.
- ✔ Gluten-Free: Substitute with a 1:1 gluten-free flour blend.
- ✔ Mini Cookies: Make bite-sized versions for parties or gifting.
Keywords: peanut butter cookies, classic cookies, soft cookies, chewy peanut butter cookies, old-fashioned cookies, homemade cookies, lunchbox treats, comfort food cookies, easy cookie recipe, fork mark cookies
Frequently Asked Questions (FAQ)
1. Can I use natural peanut butter?
Yes, but make sure it’s well stirred and not too oily or dry. You may need to adjust the flour slightly.
2. How do I keep peanut butter cookies soft?
Don’t overbake them! Remove when the edges are golden and the center looks just set.
3. Can I freeze the dough?
Absolutely! Roll into balls, flash freeze, and store in a freezer bag for up to 2 months. Bake directly from frozen—just add 1-2 minutes to the bake time.
4. Can I double the recipe?
Yes, this recipe doubles beautifully and is perfect for big batches.
5. Why do peanut butter cookies have fork marks?
The dough is dense, and the fork marks help them bake more evenly. Plus, it’s a charming, traditional touch!

2 thoughts on “Peanut Butter Cookies”